Nessun prodotto
BLOG NEWS
Search on blog
Follow us on facebook
I più venduti
-

Proto Shield Plus STARTER KIT
Questo kit è rivolto principalmente a chi desidera iniziare a...
69,90 € -

Proto Shield Plus LCD KIT
La scheda PROTO SHIELD PLUS rende comodo ed immediato sperimentare e...
56,00 € -

Adattatore da SMD a piastra sperimentale (confezione 10pz)
Adatta facilmente componenti SMD a piastra sperimentale (breadboard) con...
3,90 € -

Proto Shield Plus KIT BASE
La scheda PROTOSHIELD PLUS rende comodo ed immediato sperimentare e...
52,00 €
The Proto Shield Plus Output LEDs
Published : 25/04/2018 14:42:20
Categories : Proto Shield Plus
THE PROTO SHIELD PLUS OUTPUT LEDs
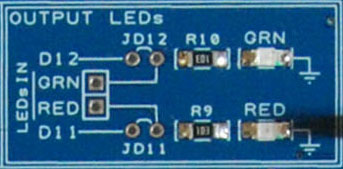
Having two ready-to-use LEDs could helps a lot while setting up your prototyping environment or while coding and debugging your application.
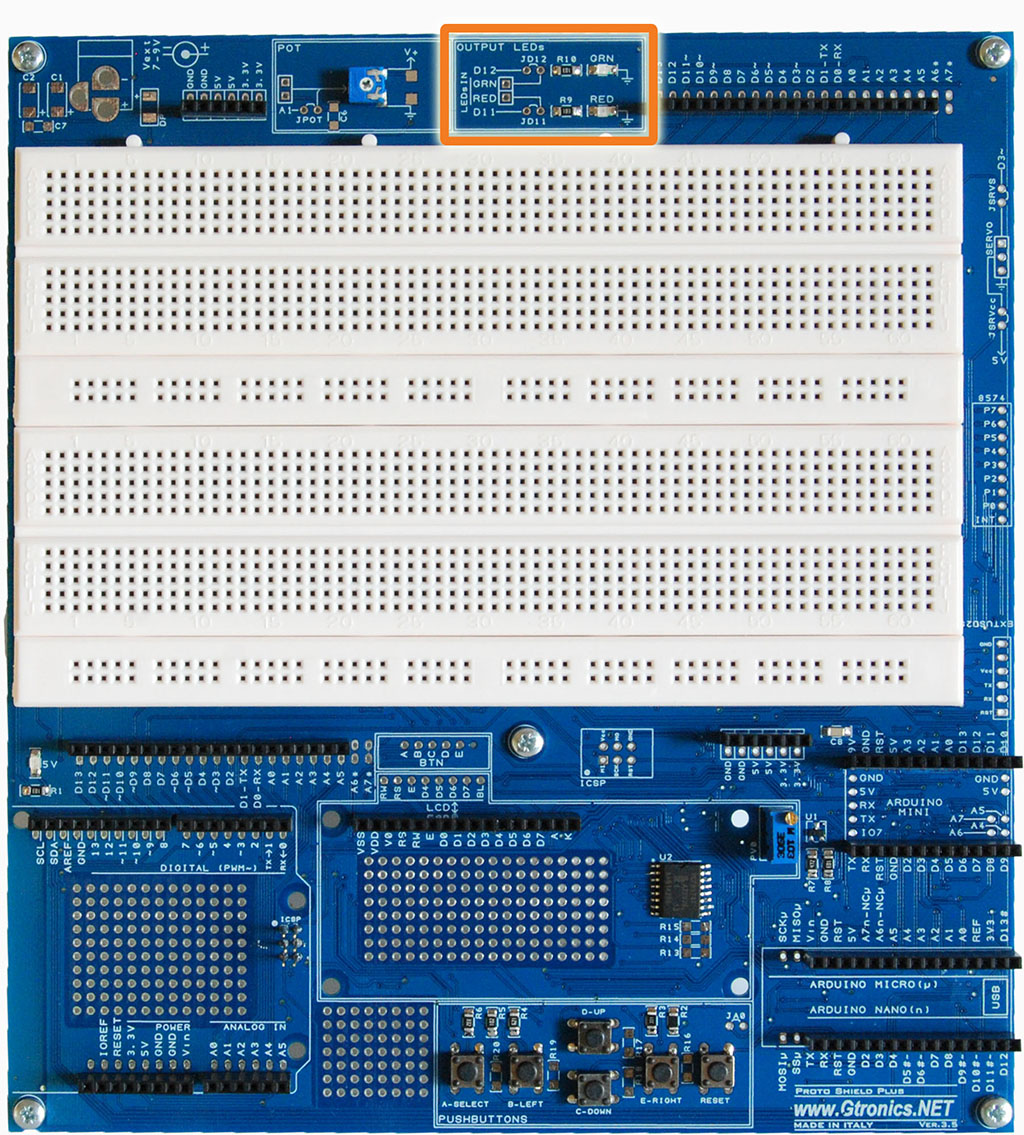
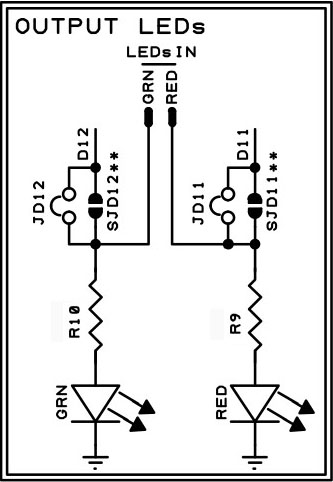
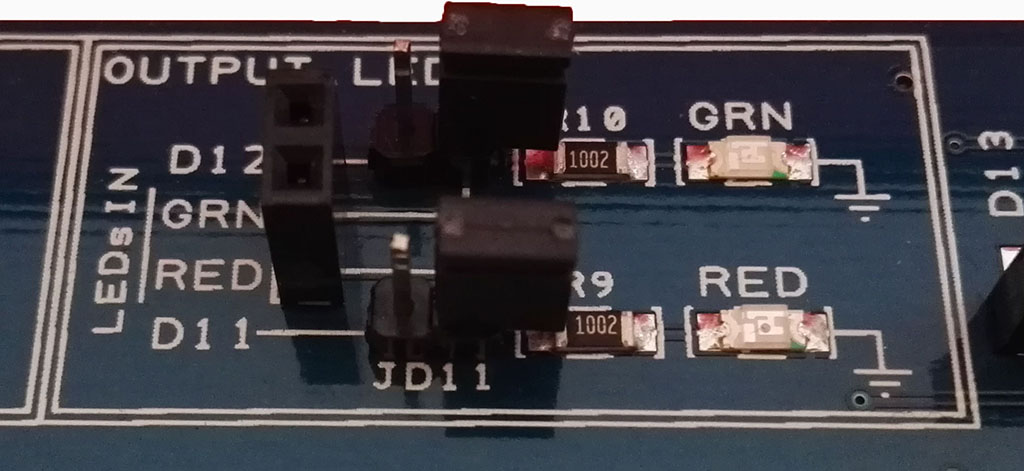
The Proto Shield Plus comes with two on-board OUTPUT LEDs (GRN and RED).
GRN connects by default to digital pin 12 (by means of SJD12).
RED connects by default to digital pin 11 (by means of SJD11).
Using the OUTPUT LEDs with different digital pins
If you want to connect OUTPUT LEDs to different digital pins (different than 11 and 12), just cut SJD11 in the middle to disconnect Arduino D11 pin from RED Output LED and cut SJD12 in the middle to disconnect Arduino D12 pin from GRN Output LED.
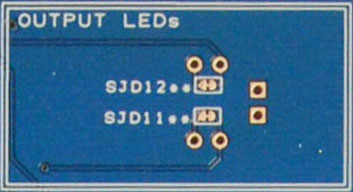
Connect the digital pin you want to drive GRN LED to the GRN LEDs IN pad (marked in green in the following picture).
Connect the digital pin you want to drive RED LED to the RED LEDs IN pad (marked in red in the following picture).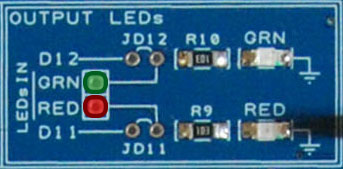
You can add a male 2.54 pitch 1x2 pin strip connector or a female 2 pins female header depending on your needs.
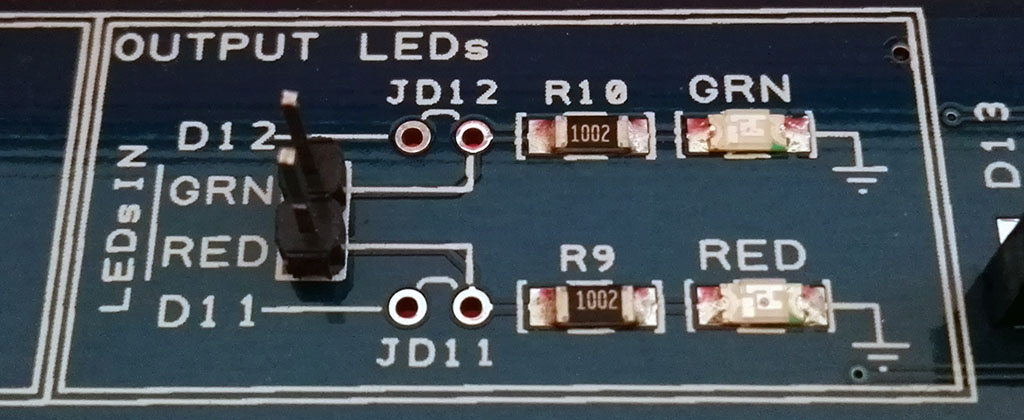
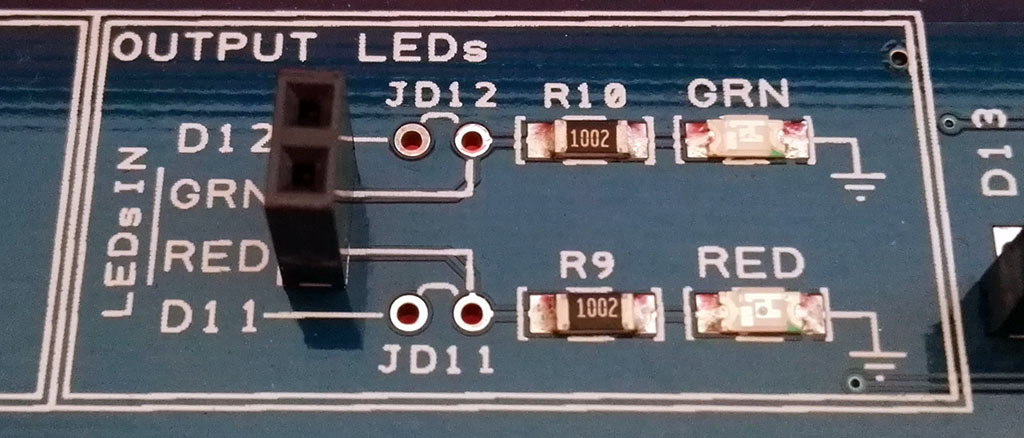
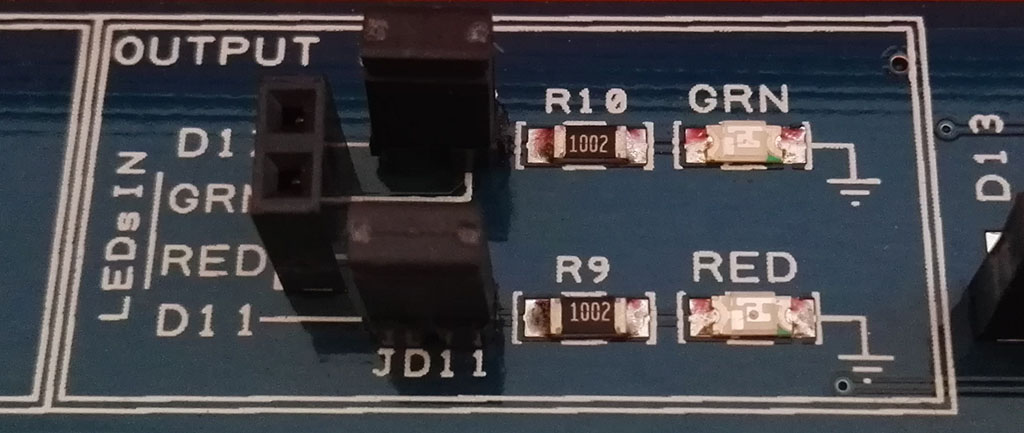
If you want to easily connect and disconnect GRN LED from D12 and RED LED from D11, you can add two male 2.54 pitch 1x2 pin strip connector to JD12 and JD11 pads and use a jumper to connect / disconnect D12 and D11.
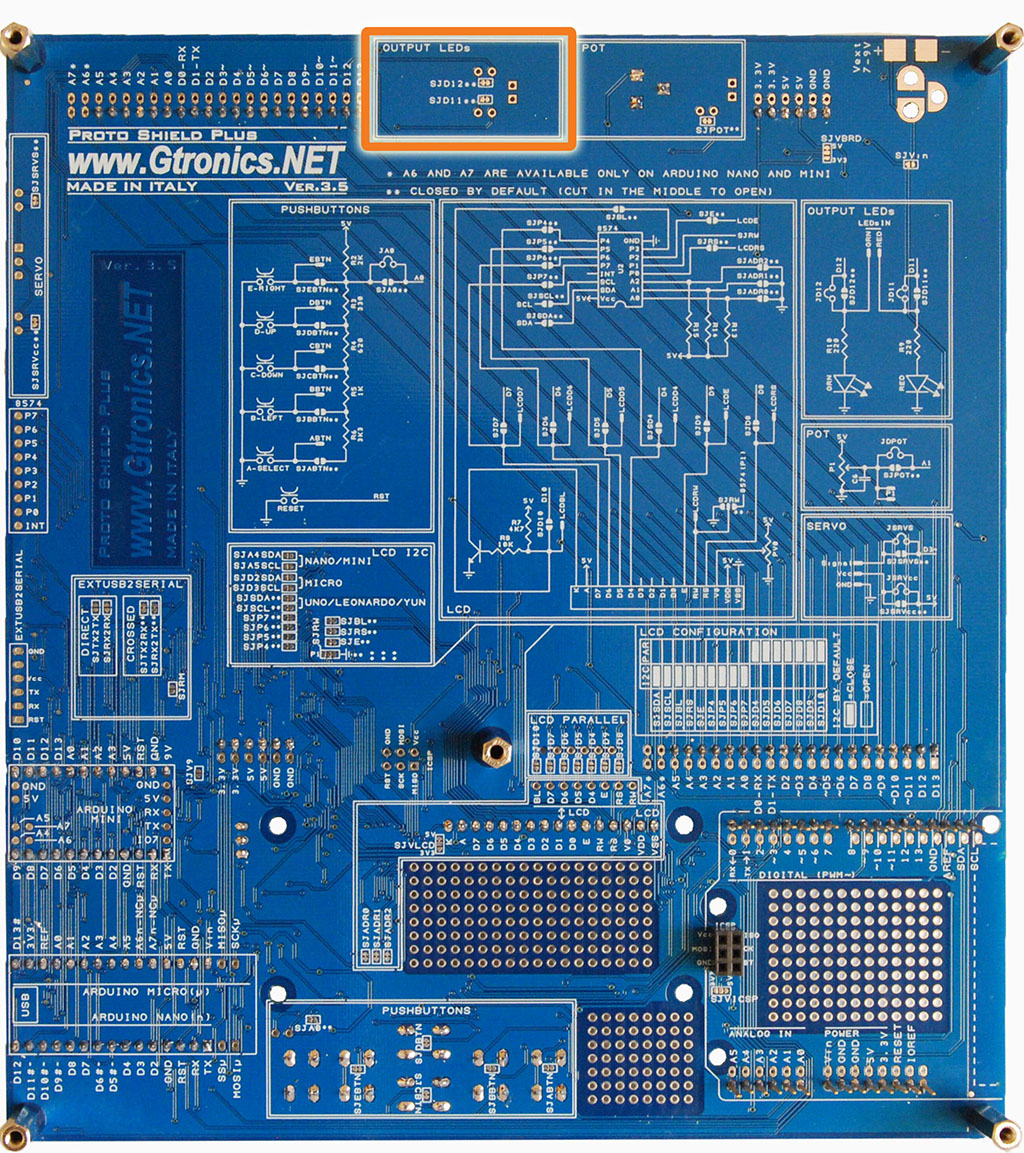
The Proto Shield Plus Board Layout
Read more
Published : 09/03/2018 10:45:38

 USARE UN DISPLAY LCD 16x2 CON LA IOT PROTO SHIELD PLUS
  Cosa ne pensa Paolo Aliverti della IoT Proto Shield Plus?
  USARE UN DISPLAY OLED SSD1306 128X64 CON LA IOT PROTO SHIELD PLUS
  USARE UN DISPLAY OLED SSD1306 128x64 CON LA IoT PROTO SHIELD PLUS
  Il Bus I2C sulla IoT Proto Shield Plus